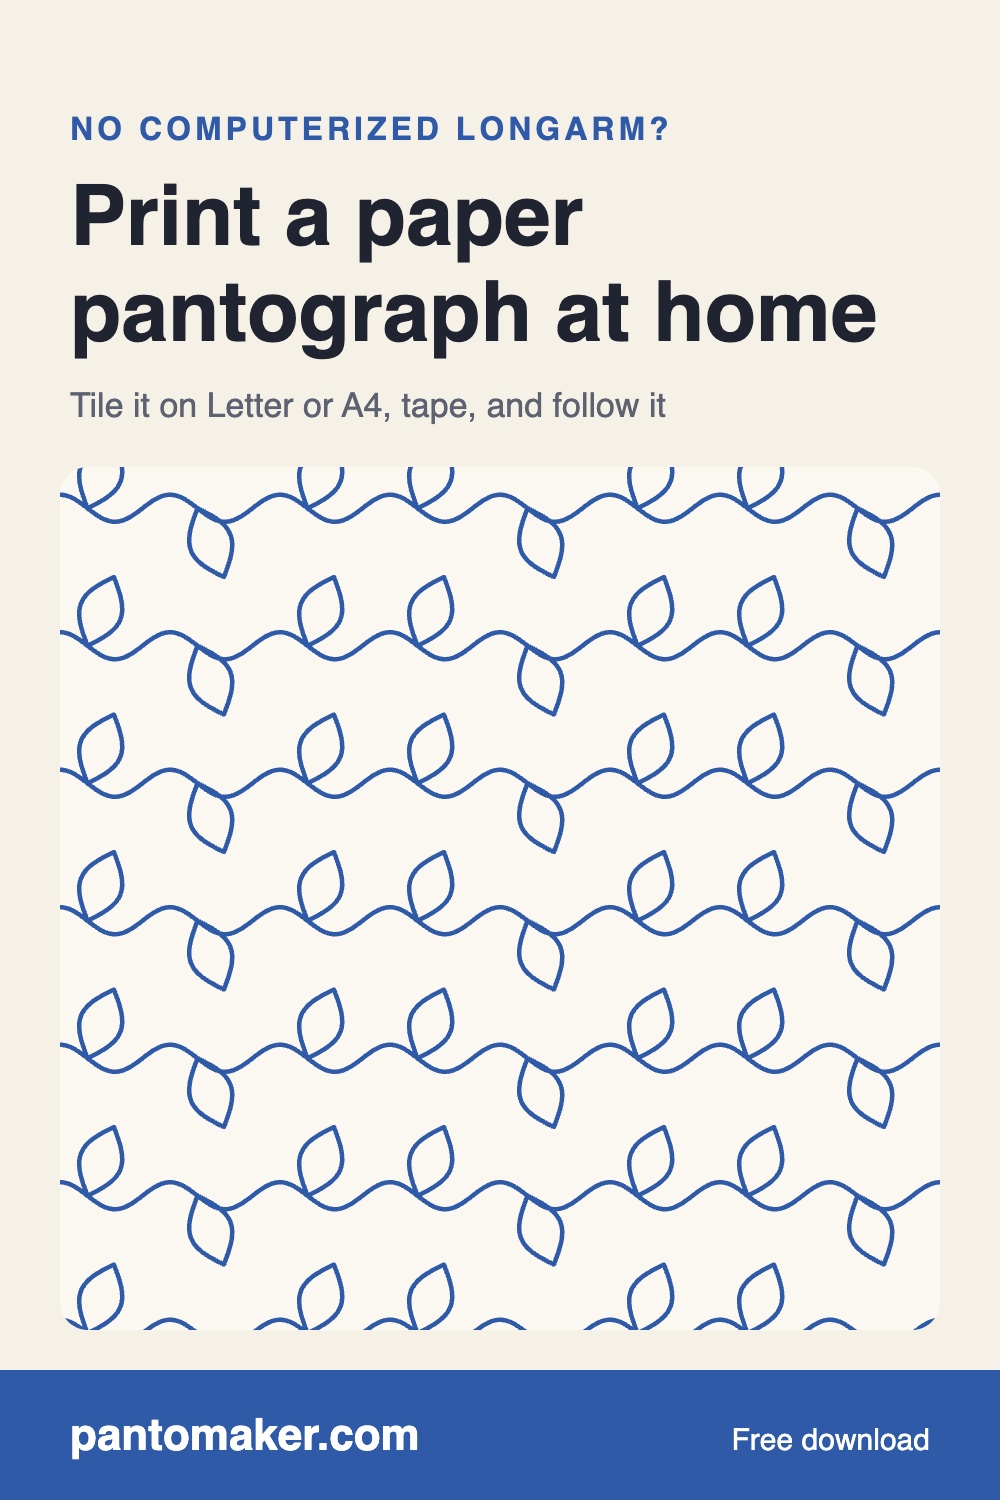
How to print a paper pantograph at home
A paper pantograph is the row printed at full size, 8 to 12 feet long, that you follow with a laser or stylus from the back of a hand-guided longarm. You don't need a roll printer: tiled sheets work fine.
Option 1: tiled sheets on your home printer
- In PantoMaker, pick or draw a design and set the repeat width and row height.
- Under Paper pantograph, choose Letter or A4 and set the length. Your quilt's width plus a few inches is usual; a typical table takes about 10 to 12 feet.
- Download the PDF and print every page at 100% / Actual size. Turn off "Fit to page".
- Measure the 1-inch square on the first page. If it isn't exactly an inch, your printer scaled the pages: check the print dialog and print again.
- Lay the sheets out in order. Each sheet repeats the last half inch of the one before, and a dashed line shows where the previous sheet ends. Slide each sheet over the one before until the drawing lines up, then tape the seam on the back.
Tall rows that don't fit on one sheet are split into strips; tape each strip, then tape the strips together along the dashed line.
Option 2: one long page from a print shop
Choose One long page and PantoMaker makes a single PDF up to about 16 feet long. Print shops that print engineering drawings or blueprints on 24 or 36 inch rolls can print it in one piece, usually for a few dollars. Ask for "actual size, no scaling".
Tips for following a paper pantograph
- The arrow marks where the line starts; short ticks along both edges mark each repeat, handy for lining up the next row.
- The dashed lines above and below are the neighbouring rows, so you can see how the next pass nests.
- Cover the finished strip with clear plastic or clear contact paper so the laser dot glides over it and the paper lasts.
Free designs to start with
The free pantographs include a 60-inch paper version of each design, ready to print.